

My most recent project was an urban fantasy game, so I wanted to revisit the technique of interior mapping to see if it could be taken further on a new generation of consoles. Although the game didn’t see the light of day, I presented this technique to the PlayStation Studios Houdini user group, and this technique actually ended up being up in Marvel’s Spider-Man 2 (along with some other different raytraced interiors with animated characters, which also look great).
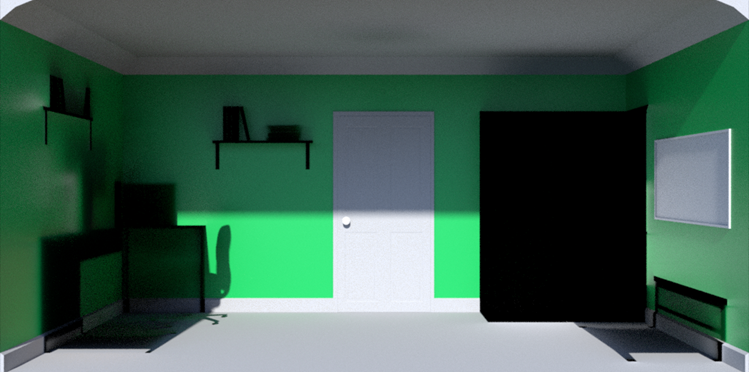
Here is the end result:
In this post I’ll walk through the process of developing this version of interior mapping.
Interior mapping was originated by Joost Van Dongen, and allows the representation of building interiors with depth entirely through a pixel shader applied to the windows.
Andrew Willmott refined the technique – rather than using separate textures or a cubemap for each wall of the interior, he proposed taking a single render of the room, which gives better filtering and texel usage in common viewing angles.

The technique has become widely used, and can be seen to great effect in titles like Marvel’s Spider-Man and Forza Horizon 4.
I wondered if the effect could be improved by creating a mashup of two techniques – interior mapping and parallax occlusion mapping. Could we use a depth map to improve the illusion?
Usually parallax occlusion mapping is entirely orthographic. If we were to apply the technique without modification, we would lose the side walls of the room and much information about the objects within.

Parallax occlusion mapping involves creating a ray through a depth map and taking multiple samples to find a hit. We can use the same approach with a depth map which has been rendered with a perspective camera. In the example of this room, the orange dot represents a pixel we are evaluating.
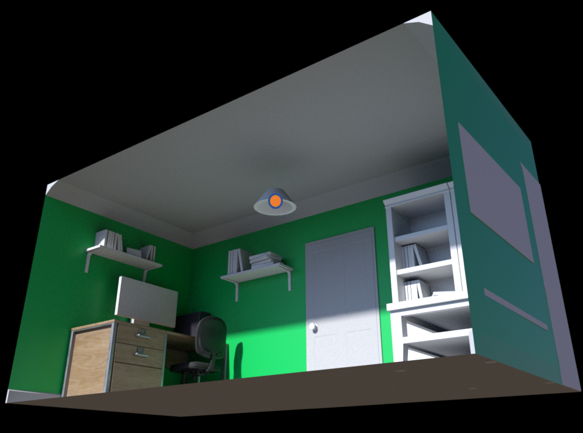
This shows the path of the ray through a depth map of the room, starting at the 4th wall, ending at the ceiling and hitting the lampshade along the way.
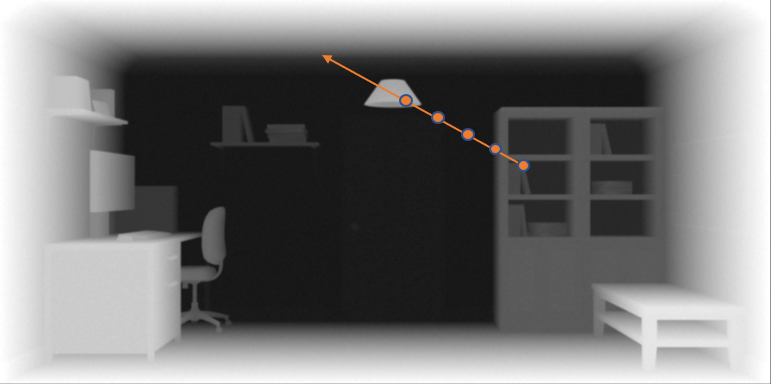
Each individual sample that is taken must be transformed from the room space into the correct camera projection space.
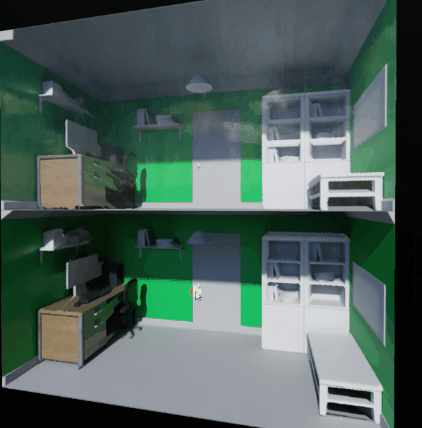
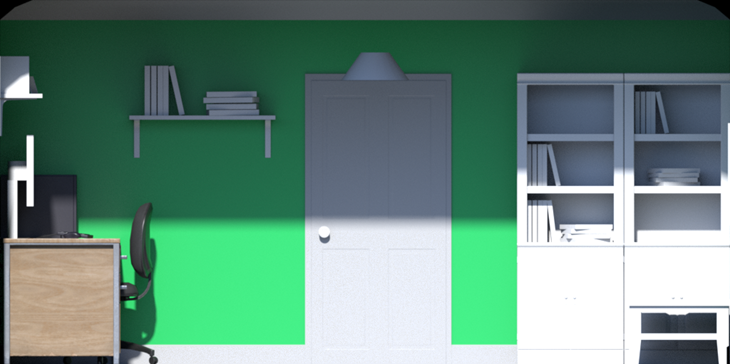
You can use the slider here to compare traditional interior mapping with parallax. With traditional, the walls are perfect, but note the distortion on objects. With the depth map, the objects are restored to the correct perspective. This is an improvement, but there are still issues with smearing where we don’t have any information behind objects.
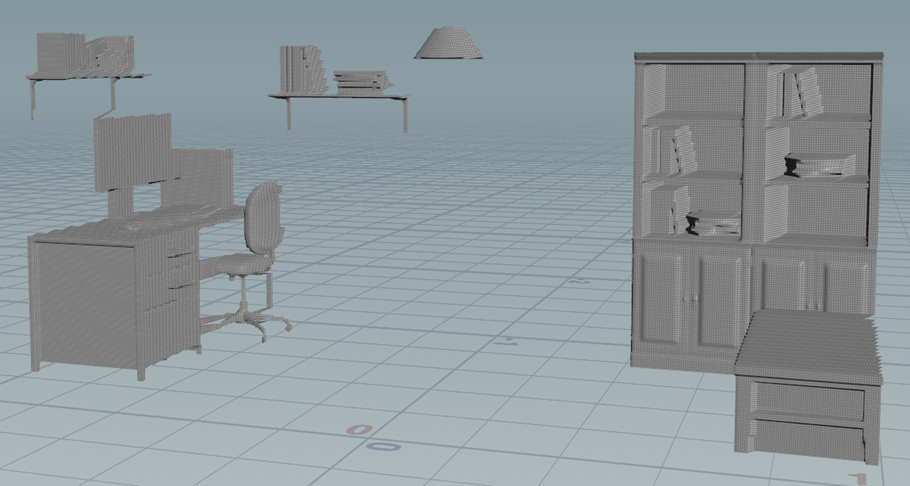
To improve this, I wanted to try to add another layer of information. We don’t actually care about having the walls in the depth map – we already define the extents of the room in the shader. What we need is some more depth information. To generate this I bring the objects from the room into Houdini, and generate a depth map of the objects, and also a depth map of the rear of the objects.
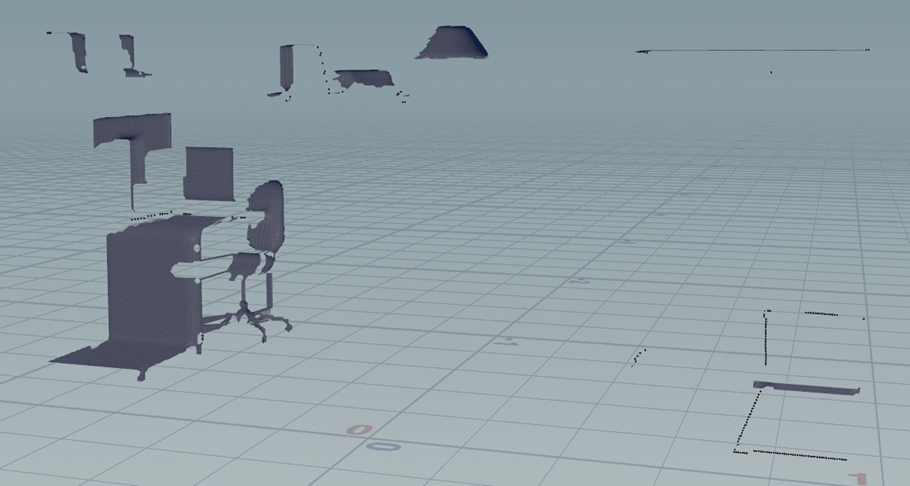
We can also render a version of the room without the objects in – this means if the ray passes behind an object rather than hitting it, we can use the empty room.
Now when we raymarch through the depth maps, we can test that we are hitting the objects, and they don’t smear out into the back of the room. By storing the front and back renders of the room into a texture array and simply changing the index depending on whether we hit an object, we incur no additional texture reads.
In the end, for a similar cost to the well established parallax occlusion mapping, we can add significantly more visual interest to building interiors.